Create your account
Sign up at Dakora Studio to get started.Each project has its own templates, API keys, and cost analytics. It perfect for separating development, staging, and production environments.
Generate an API key
Navigate to Settings → API Keys and click New Key. Give your key a name, set an expiration (or choose “Never”), and click Create Key.
Explore starter templates
Every new project comes with starter templates to help you get going quickly.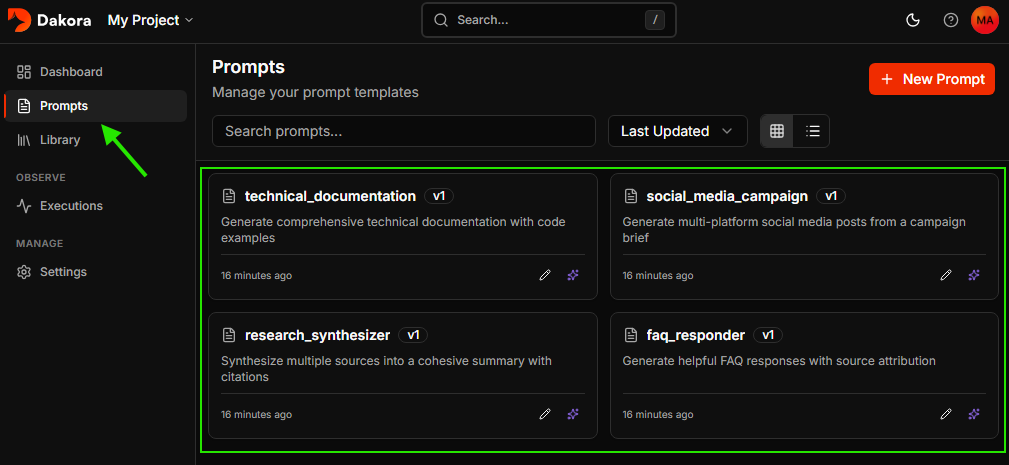
Render and execute your first prompt
Install the Dakora SDK and instrumentation packages:Make your API keys available as environment variables: The instrumentation automatically captures token usage, costs, and latency for every LLM call.
DAKORA_API_KEY and OPENAI_API_KEY (via .env file or your preferred method).Now set up instrumentation to track your LLM calls, then render a template and use it with your LLM:View your execution
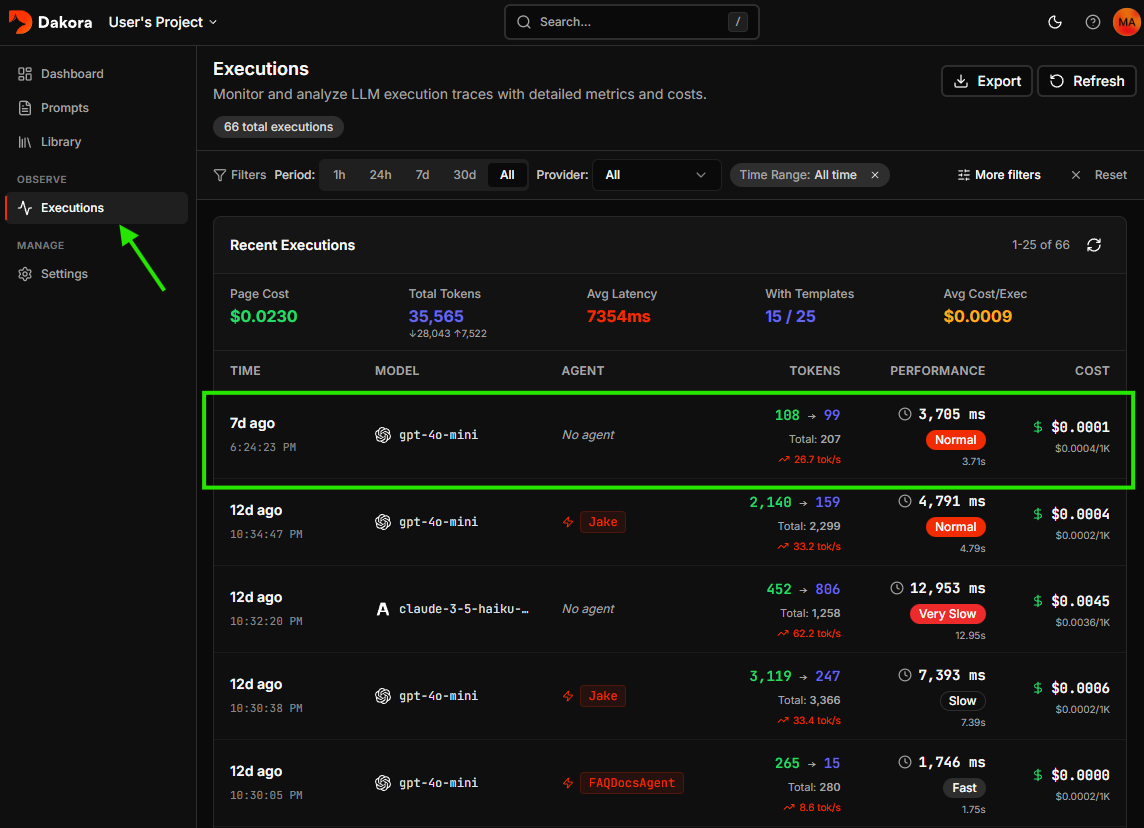
Check the Dakora Studio executions to see your trace with full analytics.